Best Ice for Camping: Block vs Cubes (Quick Guide)
What kind of ice is best for camping?
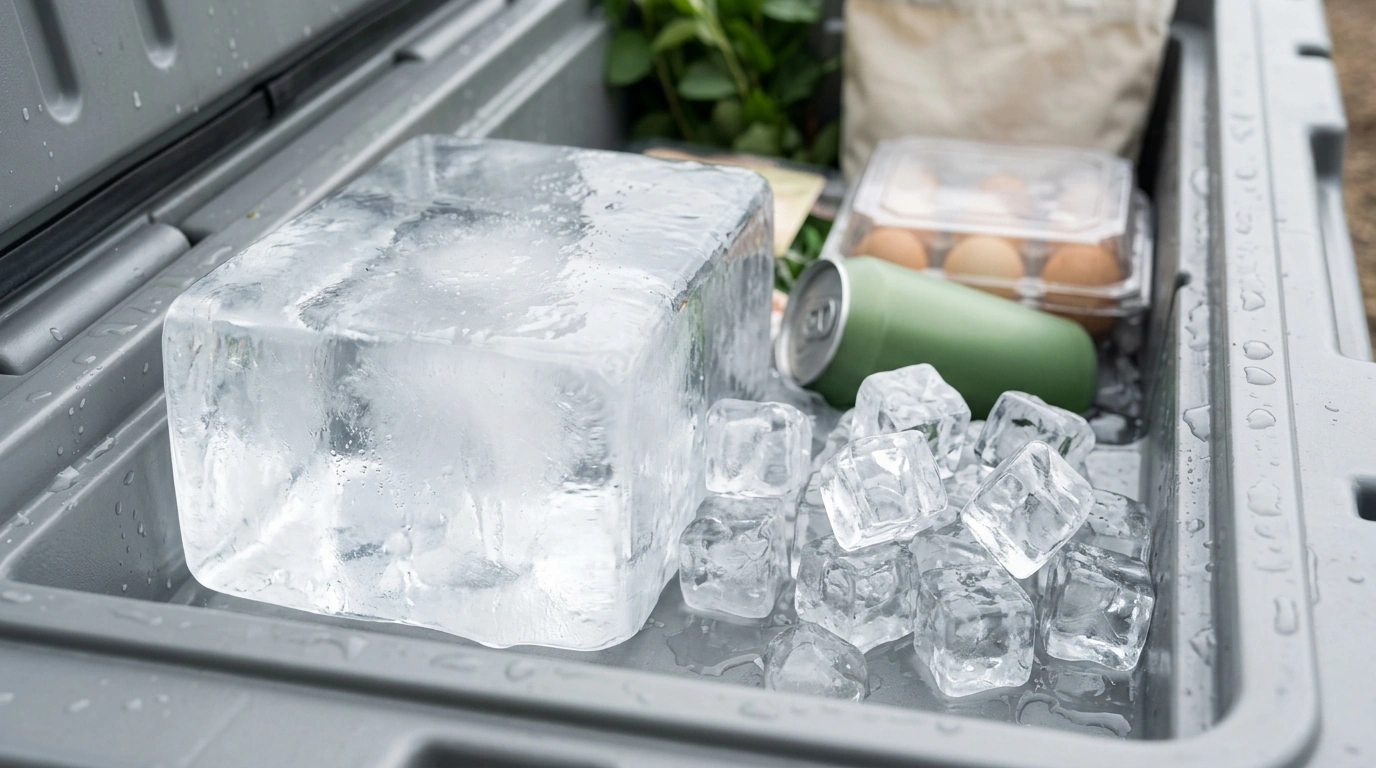
The best ice for camping depends on what you’re trying to protect: food safety, cold drinks, or cooler longevity. For most trips, the top performer is block ice (or large “ice bricks”) because it melts slowly and keeps a steady cold temperature longer than small cubes. If you can only bring one type, start with block ice and add a small bag of cubes for convenience.
Best overall: Block ice
Block ice melts slower because it has less surface area exposed to warm air. That makes it ideal for multi-day camping, especially when you’re storing raw meat, dairy, or other perishables that need consistent cold. Use one or two blocks as a “cold wall” against the cooler side or bottom, then layer sealed foods above it.
Best for quick access: Cubed ice
Cubes chill fast and are easy to scoop into bottles and cups, but they melt quicker. Cubed ice is a good choice for day trips, drink-only coolers, or as a “top layer” to rapidly cool new items. If you’re opening the cooler often, keep cubes in a separate cooler just for beverages.
Best strategy: Mix block + cubes
Many campers get the longest cold time by combining one block (longevity) with cubes (quick chilling and filling gaps). Keep the cooler as full as possible, pre-chill it when you can, and minimize lid openings to stretch your ice.
Don’t forget containment and meltwater
If soggy packaging is a problem, use sealed ice packs or place ice in leak-resistant bags. For longer trips, managing meltwater matters: some foods do better kept dry, while drinks can stay cold in meltwater. For more detailed methods and gear ideas, read the full guide here: Camping ice made easy: large insulated steel bucket guide.
FAQ
How do you keep ice from melting fast while camping?
Pre-chill the cooler, use block ice as the base, keep it packed full, and open it as little as possible. Store the cooler in shade and insulate it from hot surfaces like truck beds or sun-warmed rocks.







Leave a comment